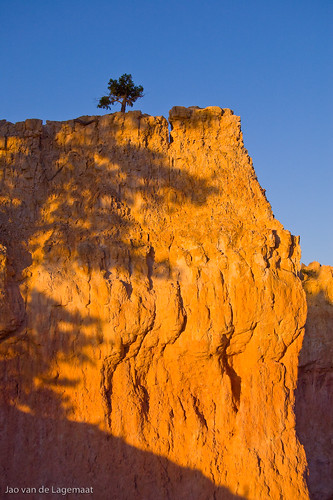
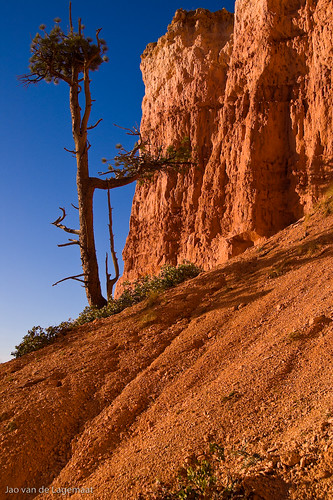
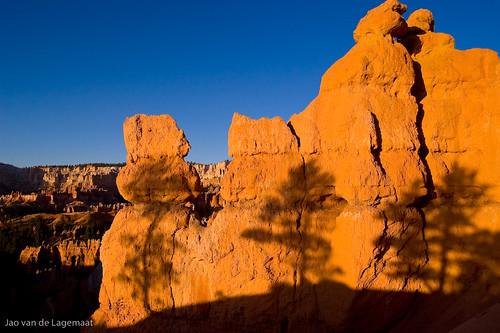
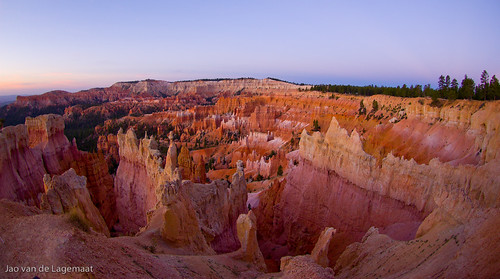
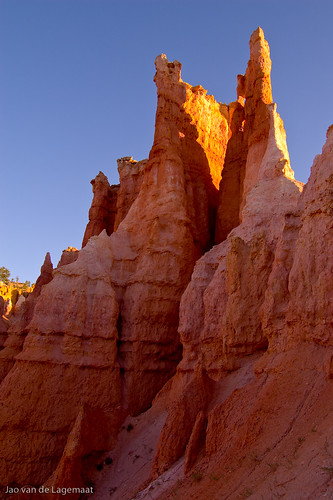
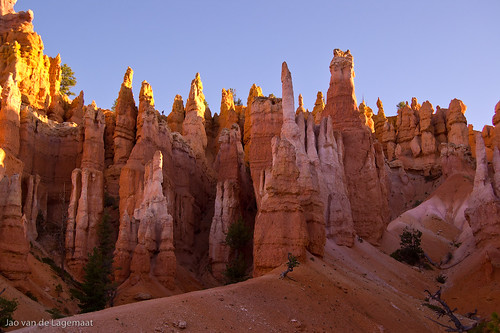
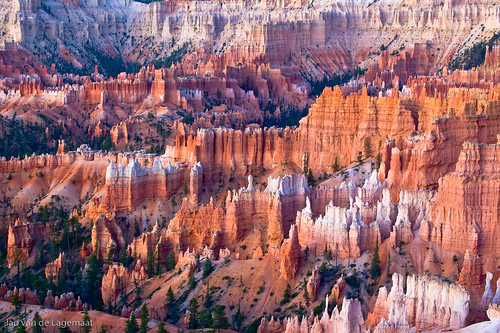
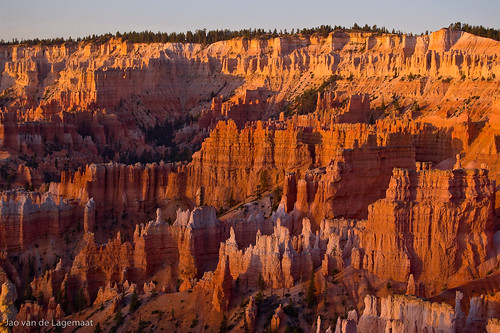
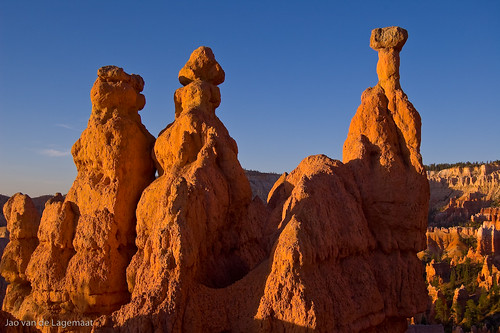
Just a few pics for your enjoyment! Larger versions available by following the links. I love the early morning light in these images. These are mostly in the Queen Anne's garden area.
The three sisters:
Pedestal for a tree:
Lean-to:
Shadows:
Dawn color panorama:
Throne :
Courtyard :
Friday, September 21, 2007
Wednesday, September 19, 2007
More precise values
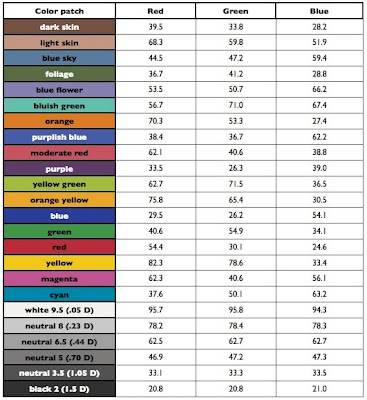
I found a much more precise table of values on this site. I used the Babel 2005 16-bit average values in ppRGB space and transformed the numbers into Lightroom percentages taking into account the 2.2 gamma of lightroom. The table below has the actual values. Again, I had to make it into a graphic because of blogger's braindead handling of inline tables. You can see that there are small differences in most places, but one patch is quite different. Funny enough (because it is the color people complain about in ACR/LR), it is the orange patch that was 2 percent off in the blue channel. Use these values if you're using a colorchecker inside lightroom.
Tuesday, September 18, 2007
Lightroom values for the colorchecker chart
Since Lightroom's colorspace is based on prophotoRGB but has a different gamma, you cannot use any of the published values for the color patches in one of the Gretag MacBeth colorcheckers that many people use to check the color rendition of their toolchain and that you can use to calibrate the color rendering of ACR for your specific camera. Usually you would do this in ACR/PS, but if you only have LR, what do you do? Well you can use the below values in Lightroom and do it manually by going back and forth between patches and changing the hue and saturation in the camera calibration part of the develop module (after white balancing on the second grey patch!). These values are based of the values in this excellent page, so there will be a small error in there of about 1%. I simply did the appropriate transform to gamma 2.2 for the values in the ppRGB column. The values are in percent of the channel in R,G,B laid out just like the colorchecker chart.
Honestly, I have no idea why not all the grey patches are neutral, but this should help those manually calibrating in Lightroom.
EDIT: No idea why, but blogger messes up my HTML table, so it is now just a picture of a table. Hope this still works.
UPDATE 9/19/07: I uploaded a table with more precise values from 16-bit values of the colorchecker reference in the next post.
Friday, September 14, 2007
Lightroom 1.2 and ACR 4.2
Adobe just released the Lightroom 1.2 and ACR 4.2 updates (use the adobe updater app in CS3). It includes support for the yummy Canon 40D and, for me at least, it solves the weird watercolor paint effect that some pictures took on in Lightroom 1.1. This is a must have update if you use either.
Saturday, September 8, 2007
Getting up in time for good light
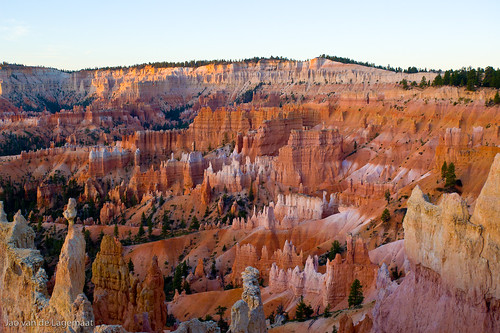
It's often said that 50% of landscape photography is being able to get up in time to catch the light around sunset. I saw a dramatic example of this recently in Bryce Canyon where I was camping with my family and got up at 5 am to shoot a few images. The rest stayed in their sleeping bags for good reason. It is cold early in the morning in Bryce even in summer. I shot 100's of images and put only a very small subset on flickr. Here is an example from right before sunrise (bigger in the flickr link):
You see an amazing amount of color in the rocks including purples and magentas. Here is almost the same view shot just a few minutes later when the sun hit it:
Still pretty, but all the purples and magentas are missing and completely overwhelmed by the color of the sunlight! Here is an example where you can see it inside of one single image:
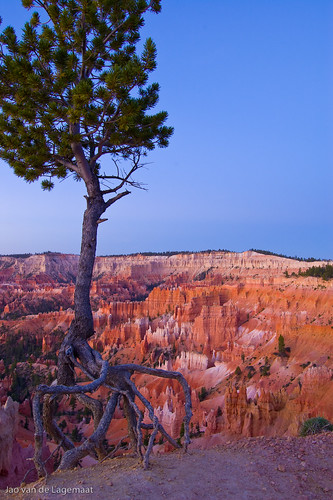
I just love the next image of the tree where all the roots are exposed because of the soil eroding away, a dramatic illustration of how this place is formed:
There were a few people that got up in time to watch the sunsets, a lot of them flashing their cameras into the sun (don't you love automatic mode on P&S's). There was also a funny photographer couple that was just complaining about the tourists and other people photographing (what do you expect in Bryce canyon?) and appeared to miss all the good shots because of it. I might be wrong though as of course, I did not see their photos. To me it just illustrates that you need to focus on your own photography and have fun doing it.
Business card
I made myself a business card. I discovered this outstanding outfit called overnightprints.com that for very little money takes any layout and prints it on heavy stock. I just received them yesterday and the quality is outstanding. Essentially indistinguishable from the design I made. I used one of my images from Arches NP (will be on flickr later) in Adobe Illustrator and generated a CMYK epsf file using the template overnightprints provided. Here is a sRGB version of it. Remember that yellow cannot be accurately rendered in sRGB (larger version in the flickr link).
The file is done full bleed, so in the actual cards, you get slightly less border. I highly recommend this place if you want to have business cards printed.
Tuesday, September 4, 2007
Simulating a wide angle lens by stitching
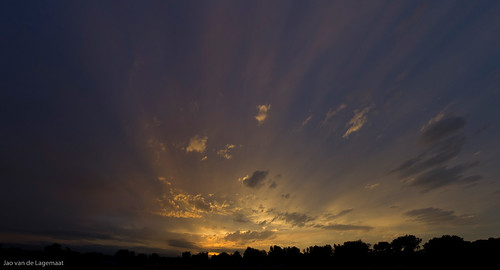
This is a photo of a sunset in the little park around the corner from where we live (for a larger size, click through to the flickr page). I just shot 5 pictures by hand equalizing exposure and white balance setting. I later stitched them together in hugin and did a very minor amount of processing in lightroom. I kept it understated on purpose.
One of the nice things is that by using the rectilinear projection in hugin, you can effectively approximate an extreme wide angle lens. The widest I own is 18 mm on my 1.5 crop factor DSLR. This corresponds to about 27 mm on a 35 mm camera. Not that wide thusly. I would love to get myself something wider such as the wide tokina, but for static or relatively static objects, this approach works quite well and you'll get superhigh resolutions as a result. Much higher than you can get out of any current DSLR, even including the just announced full-frame canons and Nikons. This image, when stitched at the highest resolution, corresponds to about 32 Megapixels.
Sunday, September 2, 2007
Actual resolution of Bayer sensors - You get only half of what they tell you
Almost all current DSLR-type cameras are based on a Bayer-filter array sensor. This means that each pixel on a CCD or CMOS chip has their own color filter. The array is usually arranged in a a square fashion where each square of four pixels has 1 pixel with a red filter, one pixel with a blue filter and 2 with green filters (in one of the two diagonals for obvious reasons. There are two green ones, because the human eye is most sensitive to green light and therefore to noise in the green channel. So a 10MP camera has 2.5 Million green pixels, 2.5 million blue ones and 5 million green ones. The job of the RAW processor in the camera or in the computer software if you shoot RAW is to interpolate between the single colors to generate the missing color values at all pixel locations. Most RAW processors do a pretty good job at this, but there is a physical limitation imposed by this. The actual resolution of these sensors will never be as large as what is claimed. If you would remove all the filters, you would get the claimed resolution in black and white. Another alternative is the foveon sensor such as the ones used by sigma, which has three color pixels all at the same site arranged in layers. This leads to the exact same resolution as the number of photosites. Unfortunately, Sigma chooses to simply count the number of photodetectors, which artificially inflates the resolution number by a factor of 3. For example, the SD14 is marketed as a 14.1 MPixel camera. This is extremely misleading as the actual resolution is only 4.6 Megapixels. The camera generates jpegs at 14.1 megapixels, but the pixels in between the actual photosites are simply interpolated and do not add any extra information. Silly marketing! Anyway, cameras with Bayer-array sensors suffer a similar problem as I explained above. The excellent site dpreview.com actually tests the resolution of all the cameras they can get their hands on. They use high resolution primes to make the comparison fair. Of course, comparing between cameras this way is the hallmark of a measurebator as ken rockwell likes to say, so I am not going to compare cameras, just see if we can draw some conclusions about the Bayer technology. Dpreview gives some numbers for the actual resolutions of the cameras they test in lines per picture height (LPH). For example, for the Nikon D200 the horizontal LPH is 2100 and the vertical 1700, since this is a 6x4 sensor, the actual resolution of the sensor is 6/4*2100*1700=5.36 Mpixels. About half the number of photosites on the sensor. Dpreview also gives an extinction resolution where all detail disappears, but moiré artefacts are visible. For the D200, this occurs at 7.4 Mpixels. To see if we can learn some more about these Bayer array sensors, I've taken the MTF data from dpreview.com for a large array of Nikon and Canon DSLR cameras and plotted the actual measured resolution vs the number of photosites on the sensor (on the right), together with the "extinction resolution". The green line would be if the resolution was the same as the camera megapixels. It is clear that a trend is visible in both the real resolution and the extinction resolution. For all array densities, the actual resolution obeys:
actual resolution = 0.58*MP
and the extinction resolution:
ext. res. = 0.8*MP.
So the actual resolution of your camera, if you have a Bayer sensor, is only about half of what is claimed! Extraordinarly good RAW processors might be able to get slightly more out of it, but never more than 0.8*MP. WIth Foveon sensors it is even worse, you only get 1/3 of the resolution of the number the camera manufacturer claims as they quote you the number of photodetectors, while the only thing that matters is the number of pixel locations, which is only 1/3 of the number of photodetectors.
Subscribe to:
Posts (Atom)